One common confusion in Kivy is the correct distinction between to_window, to_widget, to_local and to_parent methods. In this post I will focus in to_window and to_widget methods.

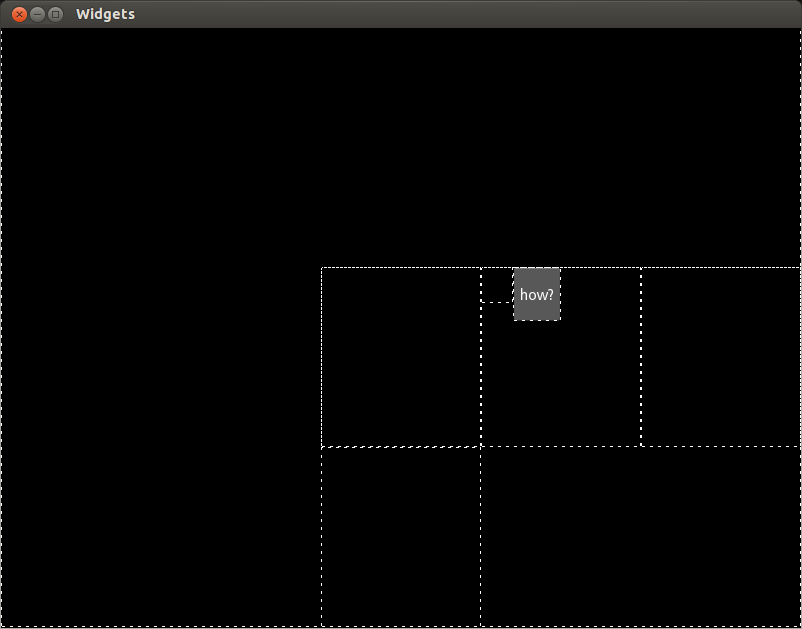
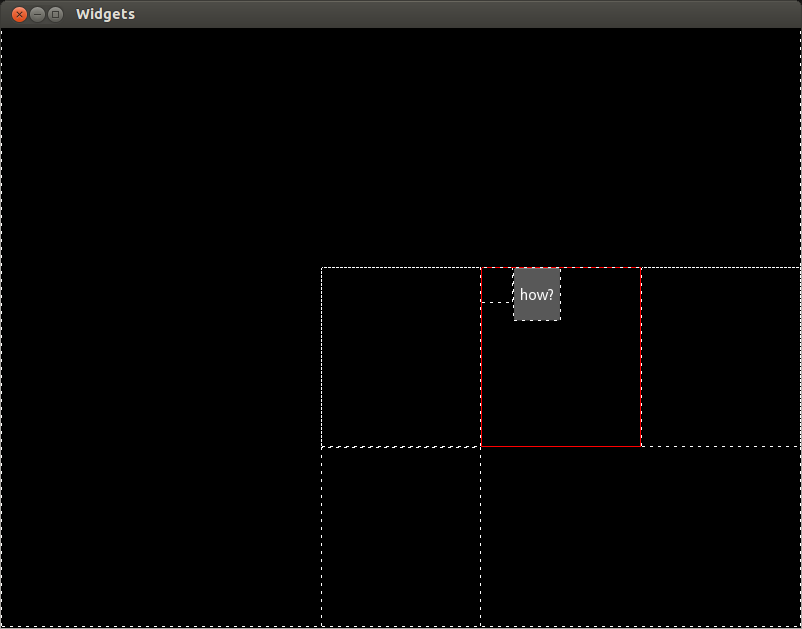
Kivy usually works with absolute coordinates, i.e. no matter where you are trying to position a Widget, the origin coordinate (0,0) will always be at the bottom-left corner of your window.

Please notice that this post applies specifically to the absolute position properties (pos, x, y, top, bottom), not to the proportional position property (pos_hint property) .

Apart from the pos_hint property, there are some exceptions where Kivy stops using absolute coordinates. For example, when we are directly inside a RelativeLayout or Scatter. In this cases, we might need to convert coordinates relative to the Widget to absolute Window coordinates, or vice-versa.

A common situation in which we need to do this is when we are receiving touch events. Let's study an example. Here is the Kivy code:
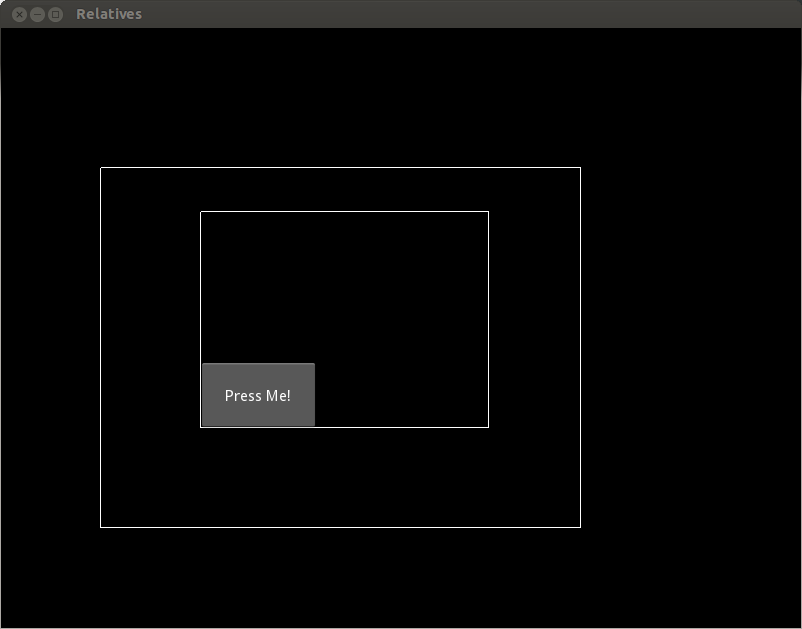
<RelativeLayout>:
    pos: 100,100
    size_hint: .6,.6
    canvas:
        Line:
            rectangle: 0,0, self.width, self.height

<Relatives>:
    RelativeLayout:
        Button:
            pos: 0,0
            size_hint: .4,.3
            text: "Press Me!"
            on_press: text = root.test(*args)

What we have is a Button inside a RelativeLayout inside Relatives. A Relatives instance will be the the main Widget of the Window, and therefore it will share its absolute coordinates. Here is a screenshot of the example:

Screenshot from 2013-10-11 23:22:15

The following is the Python code which is going to print the coordinates of to_window and to_widget in the test method:

import kivy
kivy.require('1.7.0')

from kivy.app import App
from kivy.uix.relativelayout import RelativeLayout

class Relatives (RelativeLayout):
    def test(self, inst):

        print "inst.pos = " + str(inst.pos)

        to_window = inst.to_window(*inst.pos)
        print "to_window = " + str(to_window)

        to_widget = inst.to_widget(*to_window)

        print "to_widget = " + str(to_widget)

class RelativesApp(App):
    def build(self):
        return Relatives()

RelativesApp().run()

This is the output of the program:

inst.pos = [0, 0]
to_window = (200, 200)
to_widget = (0, 0)

The initial position of the Button is (0,0), relative to the RelativeLayout. When to_window is called on, the relative coordinate is transformed into an absolute one (200,200). The Button is inside two RelativeLayouts instances. Each of one is at the position (100,100). Relatives is at (100,100) of the Window and the insider RelativeLayout is at (100,100) of the Relatives instance. Therefore the Button is at (200,200) of the Window. The coordinate is restored calling the to_widget method.

The to_window method will always return absolute coordinates relative to the Window, no matter how many RelativeLayout (or Scatter) instances are in the middle. In other words, if there are several RelativeLayout instances embedded into each other, the method will traverse them until it gets the coordinates in the Window.

I will be posting about to_parent and to_local methods very soon.

Have you ever wonder where did a Widget go in Kivy?

For efficiency reasons, the Kivy basic widgets are meant to be as simple as possible, and this is why they have no background colour or borders. Then, it is basically impossible to tell where they are by just observing the screen. The feature is good (efficiency first) but sometimes it makes it very difficult to tell what is happening when things didn't go as we expected.

Since there is no WYSIWYG (What You See Is What You Get) available for Kivy, and hopefully never : D (because they generate horrible code) There is already a WYSIWYG: it is called Kivy-Designer (I will tell you about it as soon as I get to use it). However, most of us just prefer to do it ourself because we believe we are able to produce better code and be in complete control of it.

In this case, what can we use something instead for debugging? You can use the inspector (see the comment by Ben). The problem persist in the sense that you don't have a constant whole picture of what is happening. So, here is my tip to know have a better understanding in the invisible widgets Kivy world.

Let's start looking at the codes to illustrate the problem. The first one is the main.py:

from kivy.app import App
from kivy.uix.floatlayout import FloatLayout

class Widgets (FloatLayout):
    pass

class WidgetsApp(App):
    def build(self):
        return Widgets()

WidgetsApp().run()

There shouldn't be anything to explain there, but you can always ask me. Here is the widgets.kv:

<Widgets>:
    AnchorLayout:
        anchor_x: 'right'
        anchor_y: 'bottom'
        GridLayout:
            cols: 3
            size_hint: .6,.6
            Label:
            StackLayout:
                orientation: 'lr-tb'
                Widget:
                    size_hint: .2,.2
                Button:
                    size_hint: .3,.3
                    text: "how?"
            Widget:
            Widget:

And here it a resulting screenshot:

Screenshot from 2013-10-02 18:15:54

The question is how did that button get there? At this point, you probably would prefer to take a pencil and try to sketch the small mess I did in the code. It would be nice if we could draw a Line at the border of the widgets using the Canvas. You probably don't want to go Widget by Widget adding the necessary instruction. Let's then redefine the Widget class rules. I just added the <Widget> to the widgetst.kv file:

<Widget>:
    canvas.after:
        Line:
            rectangle: self.x+1,self.y+1,self.width-1,self.height-1
            dash_offset: 5
            dash_length: 3

<Widgets>:
    AnchorLayout:
        anchor_x: 'right'
        anchor_y: 'bottom'
        GridLayout:
            cols: 3
            size_hint: .6,.6
            Label:
            StackLayout:
                orientation: 'lr-tb'
                Widget:
                    size_hint: .2,.2
                Button:
                    size_hint: .3,.3
                    text: "how?"
            Widget:
            Widget:

Here is the resulting screenshot:

Screenshot from 2013-10-02 18:13:23

I hope you think it is neat. It was my little inspiration moment of the year. I just took advantage of inheritance and the Kivy rules to overwrite the base class of all widgets.

What is important is the concept. So, here it is an extra example. What happen if you want to know where is one type of widgets? For example, let's say a the StackLayout instances:

<Widget>:
    canvas.after:
        Line:
            rectangle: self.x+1,self.y+1,self.width-1,self.height-1
            dash_offset: 5
            dash_length: 3
<StackLayout>:
    canvas.after:
        Color:
            rgb: 1,0,0
        Line:
            rectangle: self.x+1,self.y+1,self.width-1,self.height-1
        Color:
            rgb: 1,1,1ot

<Widgets>:
    AnchorLayout:
        anchor_x: 'right'
        anchor_y: 'bottom'
        GridLayout:
            cols: 3
            size_hint: .6,.6
            Label:
            StackLayout:
                orientation: 'lr-tb'
                Widget:
                    size_hint: .2,.2
                Button:
                    size_hint: .3,.3
                    text: "how?"
            Widget:
            Widget:

Please note that in this case I didn't use the dash attributes of line. I also used a different color, so it is easy to tell where the StackLayout intances are. Here is the final screenshot:

Screenshot from 2013-10-02 18:15:40

I hope you find this as helpful as I have found for programming my interfaces. Continue Kivying!